

Make an image smaller without guessing
This compressor creates a JPEG at your chosen quality while keeping the image's pixel dimensions. Start with the original file, move the quality slider, and compare the output size before downloading. Transparent areas become white because JPEG cannot preserve transparency.
A lower quality setting is not a target file size or a percentage of detail retained. The outcome depends on the image, its dimensions, and the browser's encoder. A file that is already efficient can get larger.
See what compression changes
We created two original 960 × 640 test images: a textured illustration and a dashboard-style graphic. These are synthetic examples, not camera photos. The textured image demonstrates fine detail; the graphic demonstrates text and flat-color edges.
Textured illustration: gradients and fine detail


84% smaller than the PNG. Inspect the sky texture and diagonal mountain edges. Small previews can hide lost detail; compare the downloaded files at 100% zoom.
Screenshot-style graphic: text and flat colors
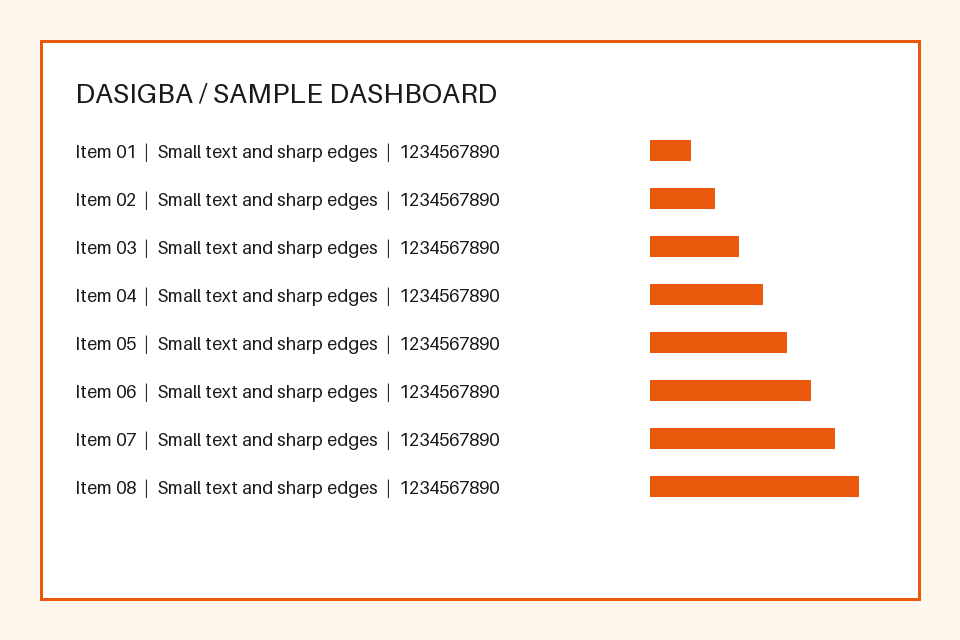
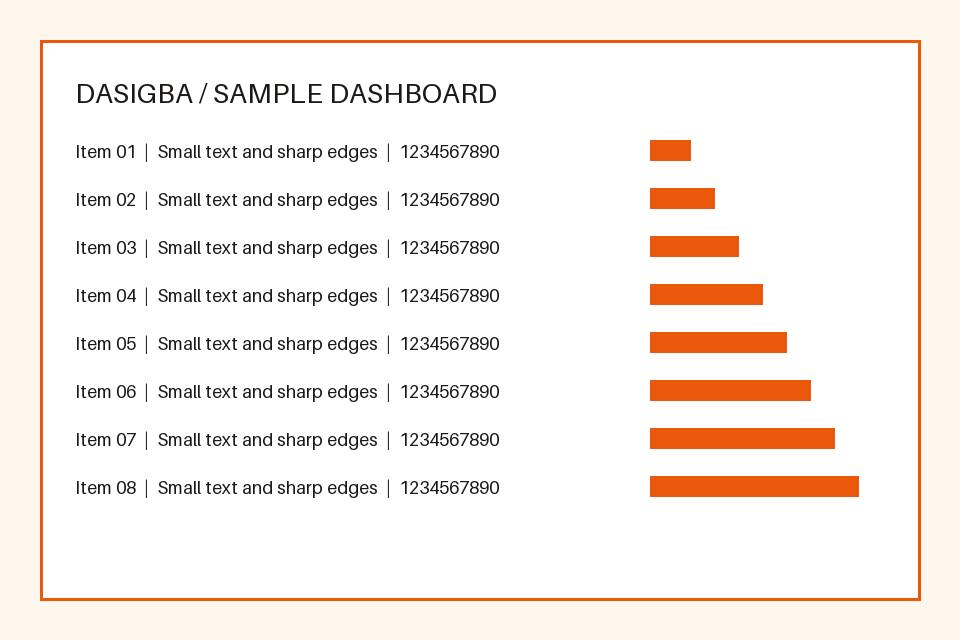
8% larger than the PNG. Inspect the small lettering and orange edges. At 70%, the JPEG is larger than the source PNG: converting formats does not guarantee savings.
Measurement method: the PNG originals were encoded with Pillow's JPEG encoder at 85, 70, and 40 quality without resizing. Sizes are measured from the downloadable files; 1 KB = 1,000 bytes. These static comparisons are not browser benchmarks: this tool uses your browser's encoder, so its output can differ at the same quality number.
In this example, the textured PNG drops from 472.5 KB to 74.1 KB at quality 70. The dashboard PNG goes from 52.6 KB to 56.7 KB at the same setting. The useful lesson is to check the result, not assume every JPEG conversion saves space.
How to get an image below 200 KB
Use this workflow when an upload form specifies a size limit. This tool has a manual quality slider; it does not automatically target 200 KB.
- Read the upload requirements. Confirm that JPEG is accepted and note any minimum or maximum pixel dimensions. Do not remove required detail from identity documents or other regulated submissions.
- Select your best original. Begin around 70–85% quality and wait for the output size to update.
- Lower quality gradually. Try steps of five or ten percentage points. Download a candidate and inspect faces, small text, and edges at full size.
- Resize if quality becomes unacceptable. Use the Image Resizer to reduce unnecessary dimensions, respecting the destination's requirements. Bring that result back here if further compression is needed.
- Verify the actual file. For a strict 200 KB limit, aim below 200,000 bytes with some headroom. Rounded size labels and different KB conventions can otherwise leave you just over the limit.
For example, reducing a 2400 × 1600 image to 1200 × 800 leaves one quarter of the pixels. File size will not necessarily fall by exactly 75%, but reducing unnecessary pixels can help more than severely lowering JPEG quality.
Choose JPEG, PNG, or WebP for the job
JPEG: photographs
A practical starting point for opaque photos and detailed images when the destination accepts JPG. Lossy encoding can soften fine detail. This compressor exports JPEG only.
PNG: screenshots and transparent graphics
Keep PNG for small text, flat colors, logos, or transparency. A compact PNG may already be smaller than its JPEG equivalent, as the dashboard example shows.
WebP: compare for website use
WebP supports transparency and lossy or lossless encoding. It can be worth comparing for a website, but check that the destination accepts it and judge the actual output rather than assuming it is always smallest.
Use the Image Converter when you need PNG or WebP instead. Changing a filename extension alone does not convert an image.
A sensible quality starting point
Try 80–85% when detail matters and around 70% for an initial size comparison. Lower settings can suit small previews, but inspect the result at its intended display size and at full size. No percentage guarantees an invisible difference, a particular file size, or suitability for print.
Keep the original for future edits. Re-exporting an already lossy JPEG cannot restore discarded detail, and repeated editing and saving can introduce more artifacts. The slider in this tool re-encodes the loaded image each time rather than recompressing the previous slider result.
Troubleshooting your result
Why did my file get larger?
Why is text blurry or surrounded by speckles?
Why did the transparent background turn white?
Why is my image still above the upload limit?
The size label looks under the limit, but the upload fails.
Will an animated image stay animated?
Will it preserve all metadata?
Are my images uploaded?
Before you use the compressed file
Check the exact size, dimensions, appearance, and background. For websites, test the image at its real display size. Smaller files reduce transfer bytes, but page speed also depends on hosting, layout, other assets, and the visitor's connection. Keep a separate copy of the original so you can export again for another purpose.